 Eng
Eng  Rus
Rus  Deu
Deu  Ital
Ital  Esp
Esp  Port
Port  Jap
Jap  Chin
Chin How to part DV AVI type 1, 2 by DV time codes

By Olga Krovyakova - March, 21 2019

1. Start the SolveigMM AVI Trimmer by double clicking a SolveigMM AVI Trimmer + MKV icon on your Windows work table.
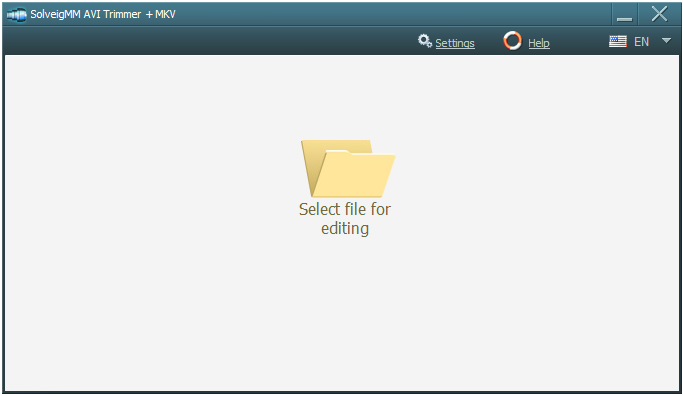
The window of SolveigMM AVI Trimmer + MKV will open.
2. Click on the "Select file for editing" button on the opened SolveigMM AVI Trimmer + MKV window.
A file selection dialog will open. Use this dialog to find and select DV file (AVI) which you plan to split on fragments. Confirm the selection.

The file selection dialog will close.
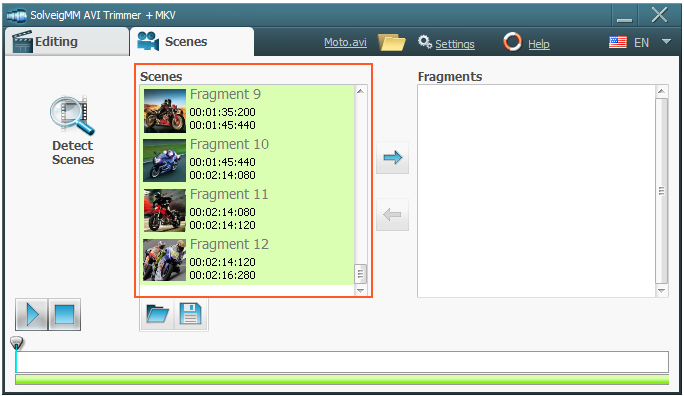
4. The SolveigMM AVI Trimmer + MKV main window with Scenes tab will open. If scene detection process has not started automatically, click "Detect Scenes" button of the Scenes tab.
If a Scene Detection dialog has open automatically, go to the next step. Else click "Detect Scenes" button on the left side of "Scenes" tab of SolveigMM AVI Trimmer + MKV window.

5. Wait a while until scene (timecodes) detecting process will complete.
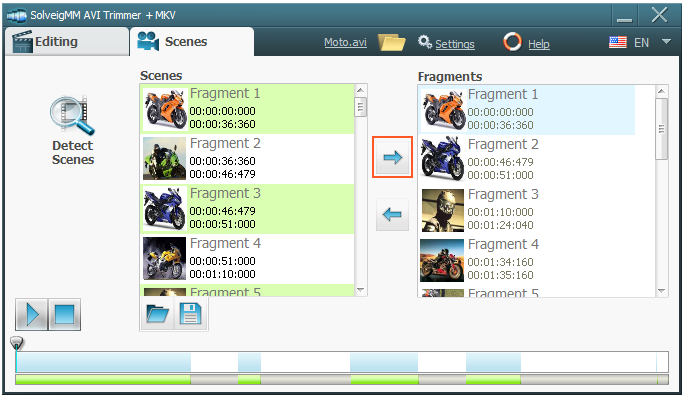
6. Go to the Scenes tab. There are DV timecodes (datecodes) of the handling file indicates in "Scenes" list.
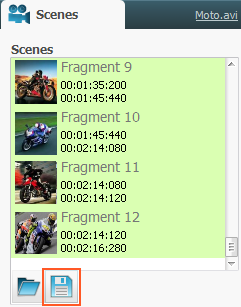
It is not required for further but if you wish to save information about DV timecodes in special "SDI" format, click "Save" button of Scene Detection dialog, else go to next step.
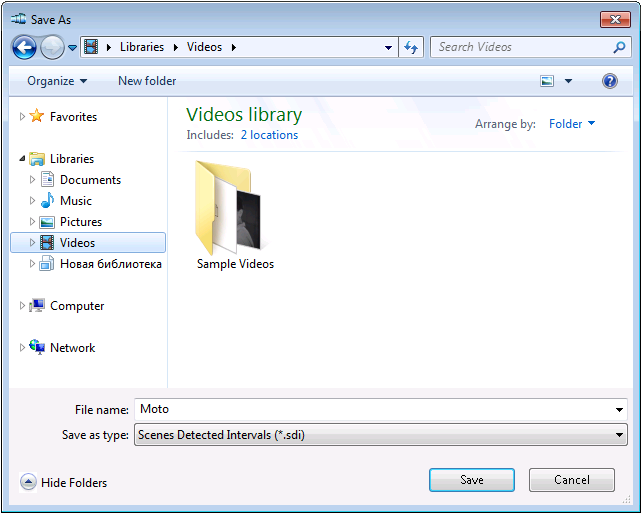
A file saving dialog will open. Use this dialog to specify target file name with "sdi" extension and confirm. The DV timecodes will be saved to specified file and the file saving dialog will close.
7. Press "Shift" or "Ctrl" key on a keyboard and keep it, and click few items of "Scenes" list at the same time to select them. Then release key. Only selected scenes (parts of source file) will be saved to a separate file later as described below (the selected fragments are of the green color).

If you're not sure that scenes were recognozed and selected correctly, just select them all: you have possibilities to reselect scenes later as described below. For total selecting first select top item in "Scenes" list, then press "Shift" key on a keyboard and keep it, and press and keep "Down arrow" key at the same time until all list items will be selected. Then release keys.
8. Click "Add Selected" button of Scenes tab.
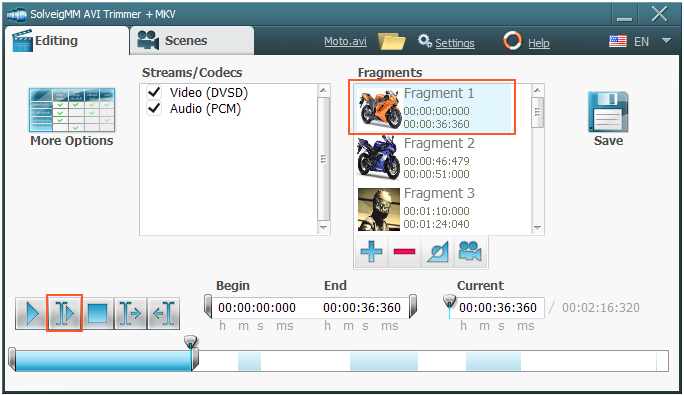
The selected timecodes from "Scenes" list will be copied to list in "Editing" tab of SolveigMM AVI Trimmer + MKV window.
9. If you select scenes correctly in step 7, go to next step. Else you should remove unnecessary scenes from list of timecodes. This list is located near the right side of "Editing" tab of SolveigMM AVI Trimmer + MKV window. To preview any listed scene you should click it to select and then click "Play Selected" button.
To select unnecessary scenes press "Shift" or "Ctrl" key on a keyboard and keep it, and click appropriate items of list at the same time. Then click "Remove" button to remove selected unnecessary scenes.
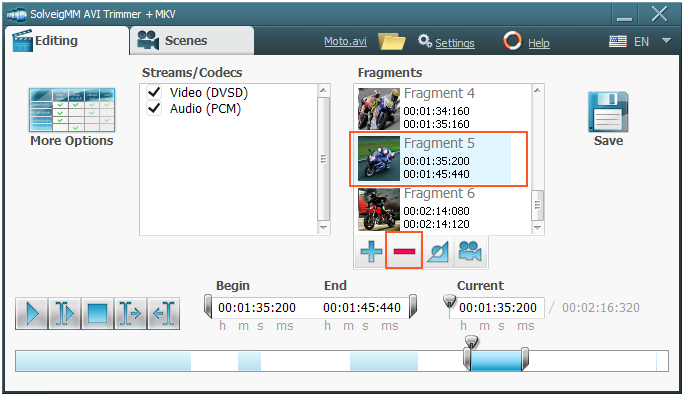
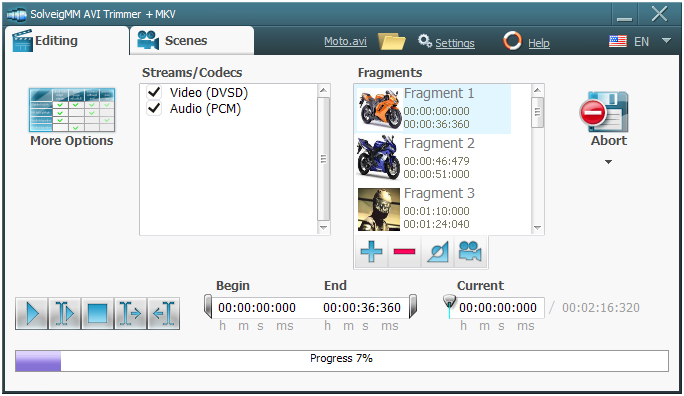
10. Now you have got listed scene set which is ready to be written to separate file. Click the "Save" button on the right side of AVI Trimmer + MKV window:

A file saving dialog will open.
11. Use file saving dialog to specify and confirm destination AVI file name to write prepared fragment to.
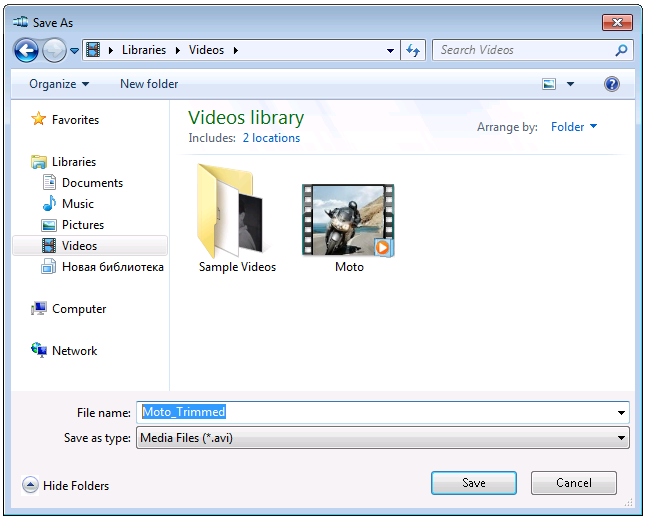
12. Click "Save" button to start fragment extracting process. The file saving dialog will close. All listed scenes will be combined and written to the specified separate file.
Wait a while until extracting process will be completed.
13. To extract other scenes go to "Scenes" tab and repeat the steps from 7 to 12 until all fragments will be handled.
 Olga Krovyakova is the Technical Support Manager in Solveig Multimedia since 2010.
She is the author of many text and video guidelines of company's products: Video Splitter, HyperCam, WMP Trimmer Plugin, AVI Trimmer+ and TriMP4.
She works with programs every day and therefore knows very well how they work. Сontact Olga via support@solveigmm.com if you have any questions. She will gladly assist you!