![]()
Quick Start
For the purposes of this introduction, we will be using HyperCam default values and basic settings. Later, you will discover the flexibility and ease of use that HyperCam options offer you.
Start HyperCam so that it appears on the screen.
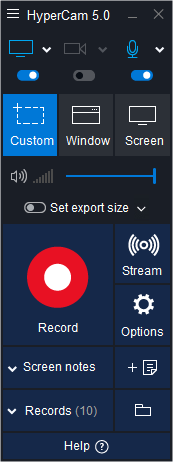
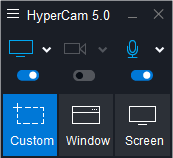
Custom recording region of size 1280 x 720 is selected by default. Use the mouse pointer to move/resize capture area. Its size is interactively displayed in the Area Selection Bar near the bottom part of the recording area frame.

Press F2 (the default start/pause hot key) or just click the big red button to begin recording. The HyperCam window will be minimized and you can use the Thumbnail Toolbar to control your recording process.
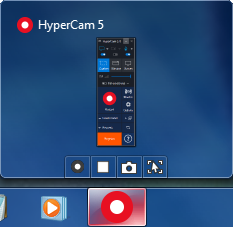
Move the pointer within the capture area and then press F3 after a few seconds (the default Stop hot key) to end the capture.
Congratulations, you have just made your first movie! It's that simple.
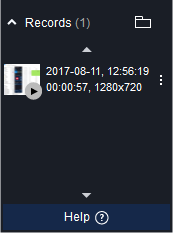
Now, the recording should appear in the Recent records section where you can play, edit, browse or delete it.
Next, take a few minutes to browse this brief help file using the navigation buttons above. The knowledge and tips you will gain will make it worth your small investment in time enabling you to get the best results in the shortest possible time.