 Eng
Eng  Rus
Rus  Deu
Deu  Ital
Ital  Esp
Esp  Port
Port  Jap
Jap  Chin
Chin How to merge MP3 files into one?

By Olga Krovyakova - modified January 30, 2024, created March, 28 2019
If you are wondering "How to merge MP3 files into one?" then Video Splitter from SolveigMM is what you need. It is the best software to merge mp3 files into one (including merge / combine songs). A tool for joining mp3 files is required not only for creating complex compositions from songs or single audio tracks (potpourri, remixes), but also for such a simple process as transferring audio files to a portable device. For example, if you need to transfer hundreds of small audio files it will be much easier and faster to merge mp3 files into one large file than to transfer each file separately.
How to join several MP3 files with Video Splitter SolveigMM
To merge mp3 files you need to use our text step by step instructions or video tutorials. Thanks to the application intuitive interface the process of joining mp3 files in Windows 10 version and below will be comprehensible even to a beginner who has never dealt with such a software before.
To start using this good mp3 joining application you need to download the mp3 joiner, install it on your computer and after studying the step-by-step instructions launch the audio merger app.
Further work with Video Splitter from SolveigMM consists of several steps.
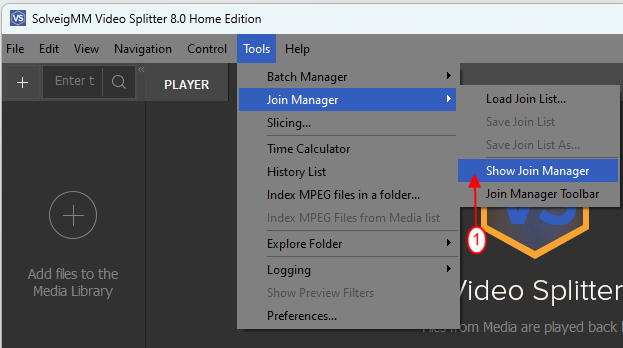
1. At first open the Join manager. In order to do this select the following options in the main menu of the program: Tools - Join manager - Show join manager.
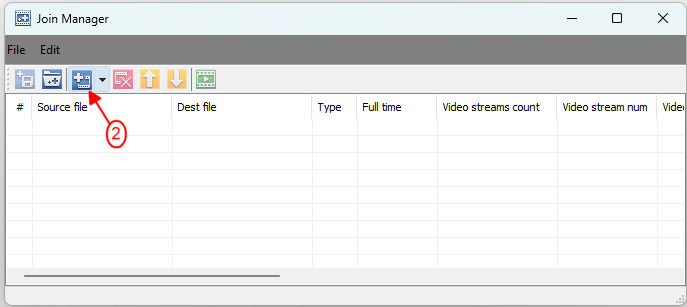
2. The toolbar of the application for merging audio files will display the available actions. Each of the actions can be selected not only with the cursor but also by pressing the corresponding combination of hot keys:
- add files into the list - Ins;
- remove files from the list - Del;
- move the selected interval up the list - Page Up;
- move the selected interval down the list - Page Down.
3. To add a file into the project click “+” or a hot key Ins.
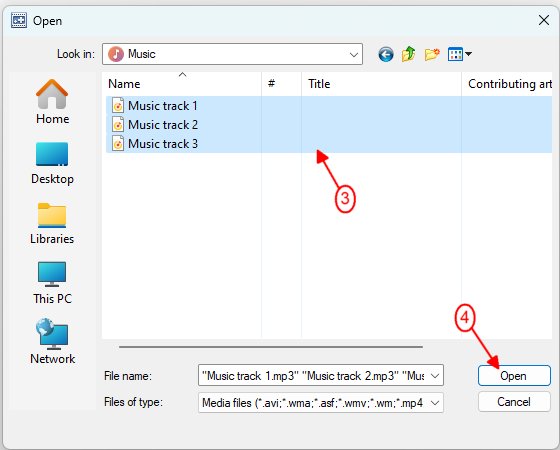
4. After completing step 3 a new window will appear. Here you can select the files you want to add into your project. Files can be added to Video Splitter either individually or by selecting a folder that already contains the required MP3.
5. After selecting the required audio tracks confirm the action by clicking the "Open" button.
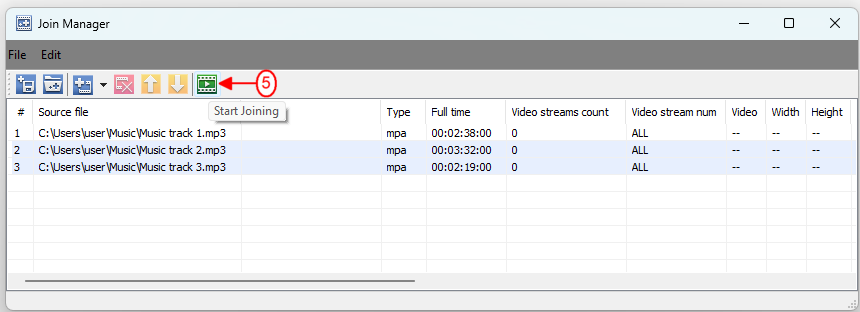
The list of files includes varying information about the loaded files (source file name, bit rate, start time of the interval, etc). Most of this information is loaded automatically but the name of the directory where the final file will be saved to must be specified manually by the user.
To remove a file from the list press the “x” button or use the hotkey Del. You can also swap the uploaded files by using the corresponding interface buttons or hotkeys - Page Down and Page Up.
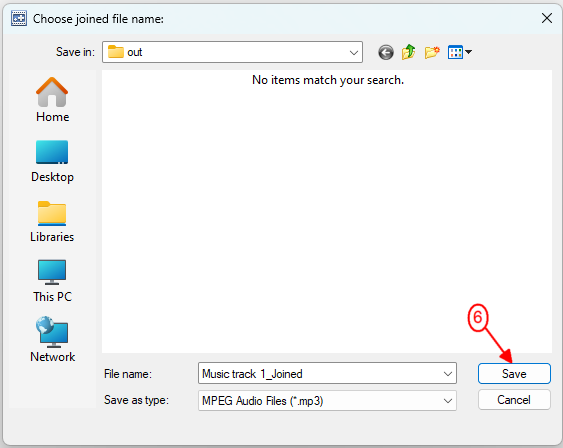
7. To confirm the above actions click “Save”.
8. Start the process of merging mp3 files by pushing the corresponding interface button.
In the opened dialog window click the "Save" button to save your output file to the selected folder.
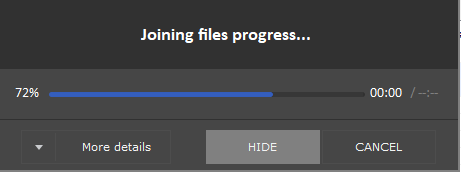
After that you will be able to manage the process of merging mp3 files and watch the merging progress through a special progress window. To hide it you need to click on the "Hide" button.
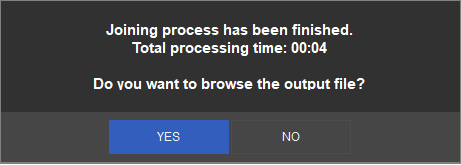
9. After the merging mp3 files is complete you will be asked in a separate window if you want to view the output file. On clicking “Yes” you will be redirected to the folder containing the MP3 merger result file where you will be able to check the quality of the work performed.
Watch how to combine mp3 files with Video Splitter

Frequently Asked Questions
How do I cut and join the MP3 songs?
Can I combine the MP3 files in Windows 10?
How to cut and merge music?
Answer the question: "How to combine multiple mp3 files into one file?" — with Video Splitter from SolveigMM. Choose our program and ensure ease of use, preservation of the original quality and lossless video / audio synchronization, a really cool result. Download the installation file, install the software on your computer and start testing the best audio and video editor from SolveigMM.
- https://www.solveigmm.com/en/howto/how-to-join-wmv-files-with-video-splitter/
- https://www.solveigmm.com/en/howto/how-to-edit-wma-file-with-video-splitter/
 Olga Krovyakova is the Technical Support Manager in Solveig Multimedia since 2010.
She is the author of many text and video guidelines of company's products: Video Splitter, HyperCam, WMP Trimmer Plugin, AVI Trimmer+ and TriMP4.
She works with programs every day and therefore knows very well how they work. Сontact Olga via support@solveigmm.com if you have any questions. She will gladly assist you!